Peach Pasties
In both my professional and my personal life, I struggle with Impostor syndrome.
Impostor syndrome
is a term coined in 1978 by clinical psychologists Dr. Pauline R. Clance and Suzanne A. Imes referring to high-achieving individuals marked by an inability to internalize their accomplishments and a persistent fear of being exposed as a "fraud".
Yep. And I try not to be that gal. I do. But when I scroll Pinterest looking for inspiration, I inevitably use my impostor filter. I convince myself I could not possibly pull off something so clever. I talk myself out of trying things.
I whisper to myself that the particular baking accomplishment I am admiring is done by an adept artist who has more talent in her carefully manicured pinky finger than I have in an entire body smeared with icing and dusted with flour.
That's pretty much what I said to myself about this recipe, which I snagged from a blog called Mitzy at Home.

These are gorgeous, peachy little cookies that I pinned ages ago to a board and looked at longingly but always avoided. Why? I was convinced anything that pretty had to be complicated. And I would inevitably screw it up. But recently I've begun to recognize that most of those brilliant HD images of artful sweets owe more to great lighting and photographic expertise than they do to baking talent. So I decided to be brave.
I'll take you through this recipe one step at a time, including my thought process along the way.
Because I was pretty sure from the beginning that this batch of extraordinary cookies was going to end up being a delicious disaster.
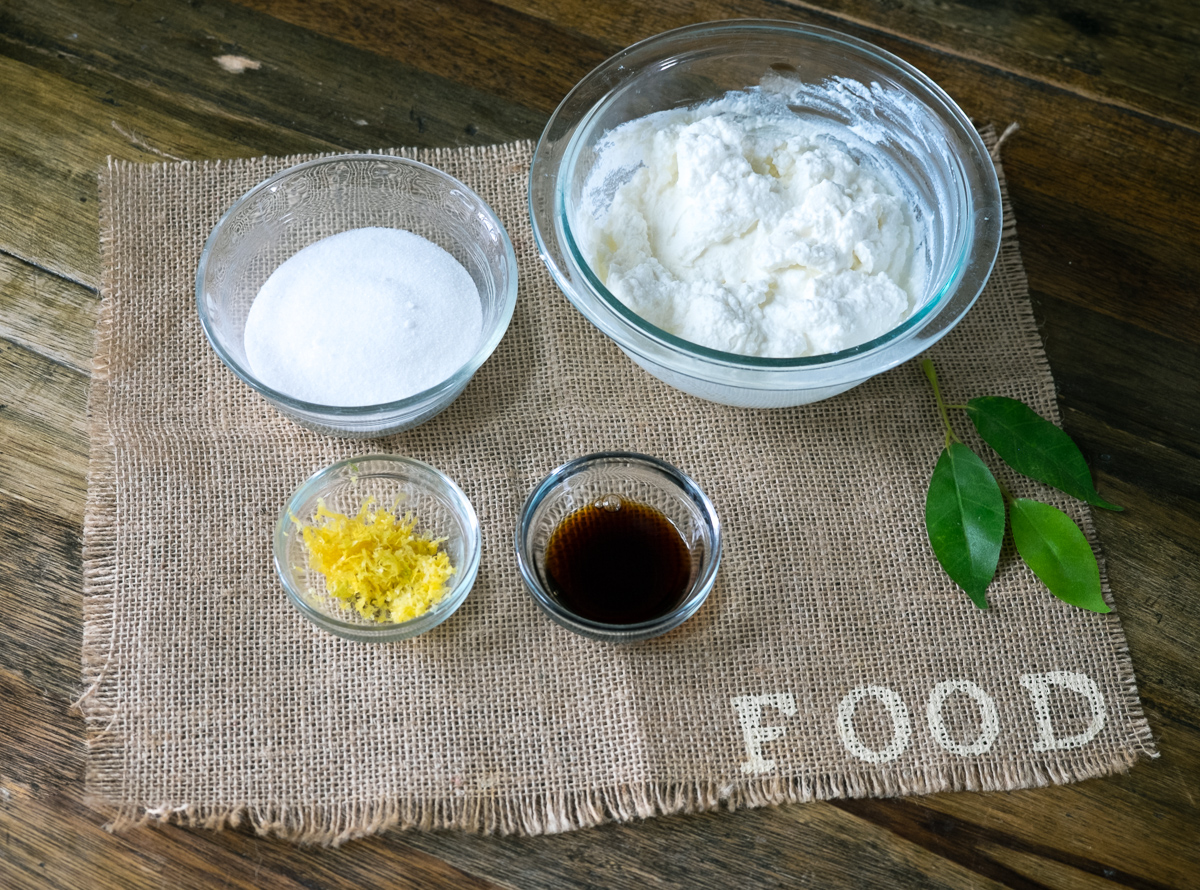
First we begin with the ingredients.


Just your average cookies. But I think If I tried this again, instead of using lemon zest, I'd go for a peach extract. It'd be pretty keen if these cookies not only looked like peaches but tasted like them. You could even use peach flavor or jam in the filling. Yum.
Okay, I'm distract myself here. Moving on.
I was skeptical about melting the butter in this recipe because usually, that means a chewy cookie. And these need to be pillowy but sturdy enough to manipulate without crumbling. But as you'll see, it was fine.
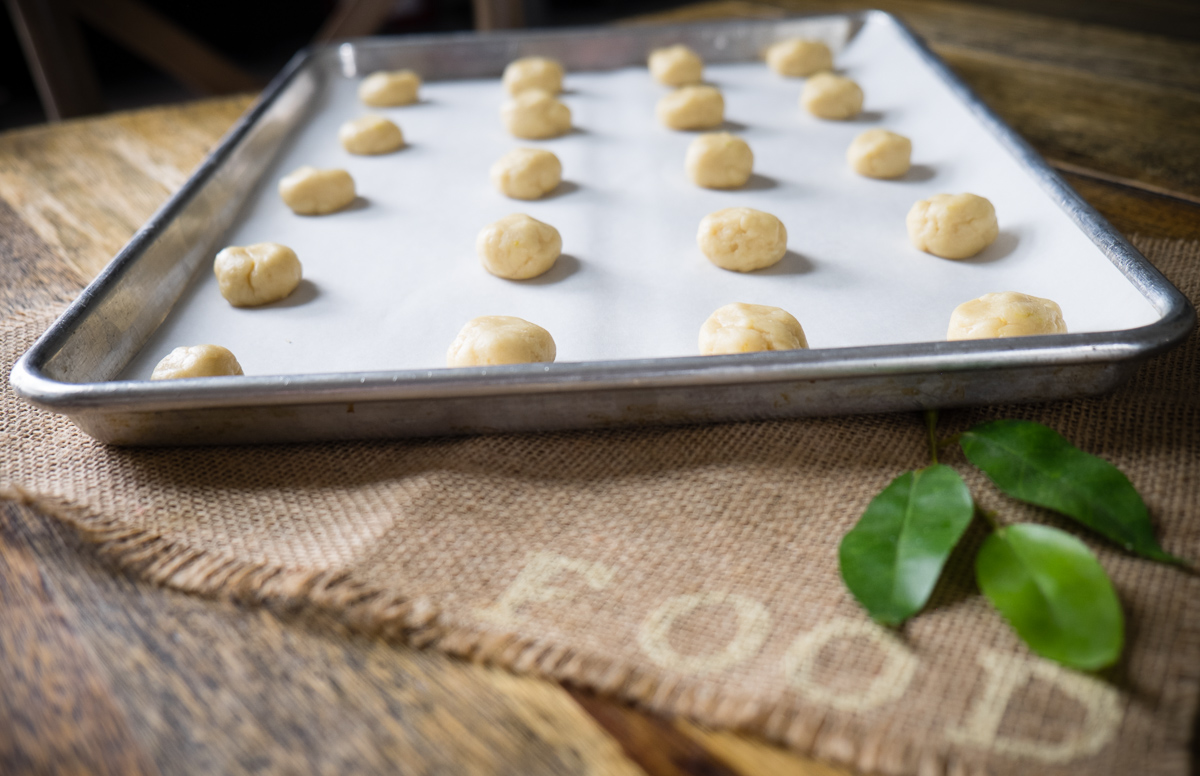
The recipe says you should depress these slightly before baking and that makes sense. If you don't you'll end up with cookies too perfectly round to be peaches. In this case perfect does not make pretty. I rolled mine really small, so I only baked for about eight minutes before pulling them from the oven.

So here's the problem. I am looking at this tray of little, bland balls and wondering how the hell I am ever going to make something that resembles a peach.
From whence does this magic cometh? Hmmm...
Now for the filler. Ricotta based with vanilla and lemon notes. Again, I'd advise going with peach flavoring here or some peach jam. It would have been delightful. Unfortunately it required me to put on clothing and actually leave the house. So it didn't happen. But you can make it happen. I believe in you.
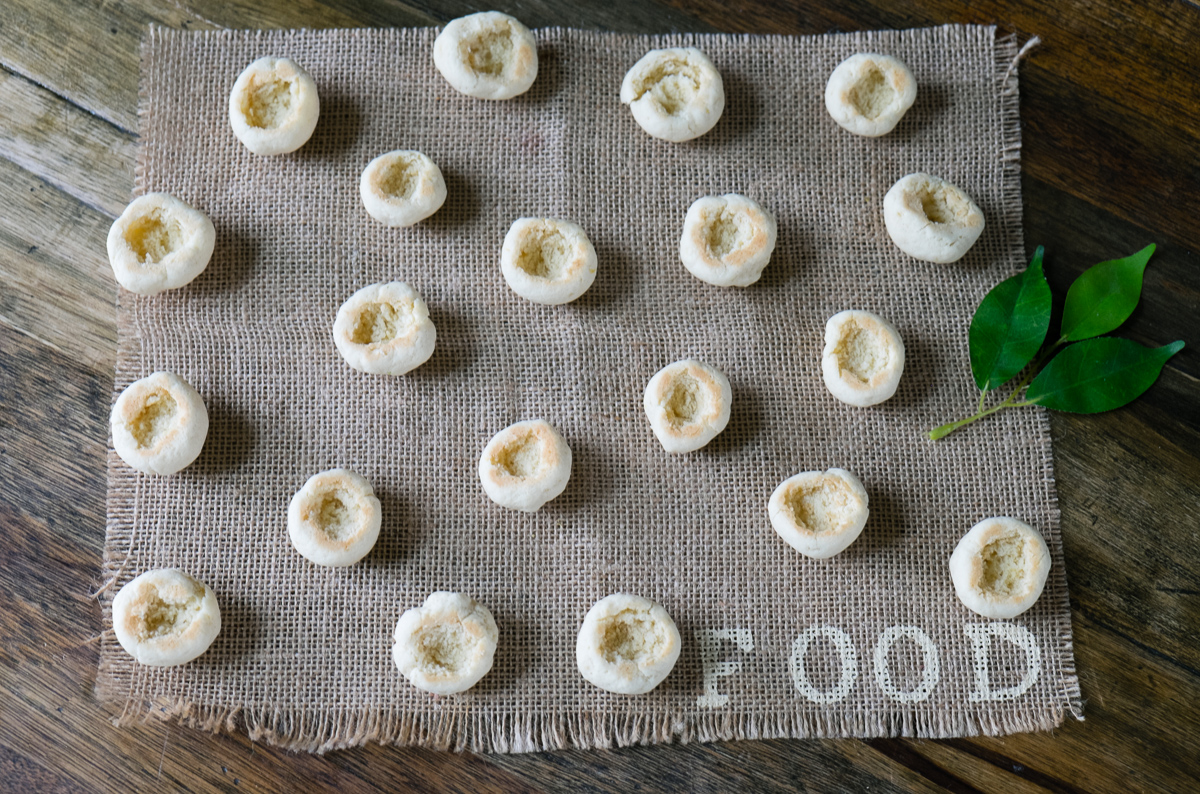
Aha! So here's where it begins to veer off into the difficult. You have to take each cookie when it is still warm from the oven and gently spoon a wee bit out of the bottom of the cookie. It leaves a space for the filling and helps the cookies cement together later. So far, so good.
Can you see it? If you squint really hard, can you see the possibility of a peach in the profile of this cookie? I confess, I still doubted this was going to work. Even at this stage, when I was so close to the end I could literally taste it, I was still sabotaged by doubt. The next step in this recipe says simply to paint the cookies with red or pink food coloring. That's it.

Except that's totally not it. Here are the steps I went through:
Step 1:
Apply red and pink food coloring and decide peaches are neither red nor pink. Glare at brightly tinged cookie before deciding to eat it. Red tongue, don't care.
Step 2:
Water down the food coloring because who is the crazy nut job who thinks it would work just to slap food coloring right on a cookie? Nutso. Can't believe I tried it. But I am the same person who follows Google blindly off bridges so let's dial down the criticism.
Step 3:
Apply food coloring to next cookie. Decided peaches are also not light pink.
Step 4:
Add orange food coloring and more water.
Step 5:
Success!
Step 6:
Spend some time wondering if I was going anywhere in the next two days that might object to atomic red and orange hands. Decide not to give a shit.

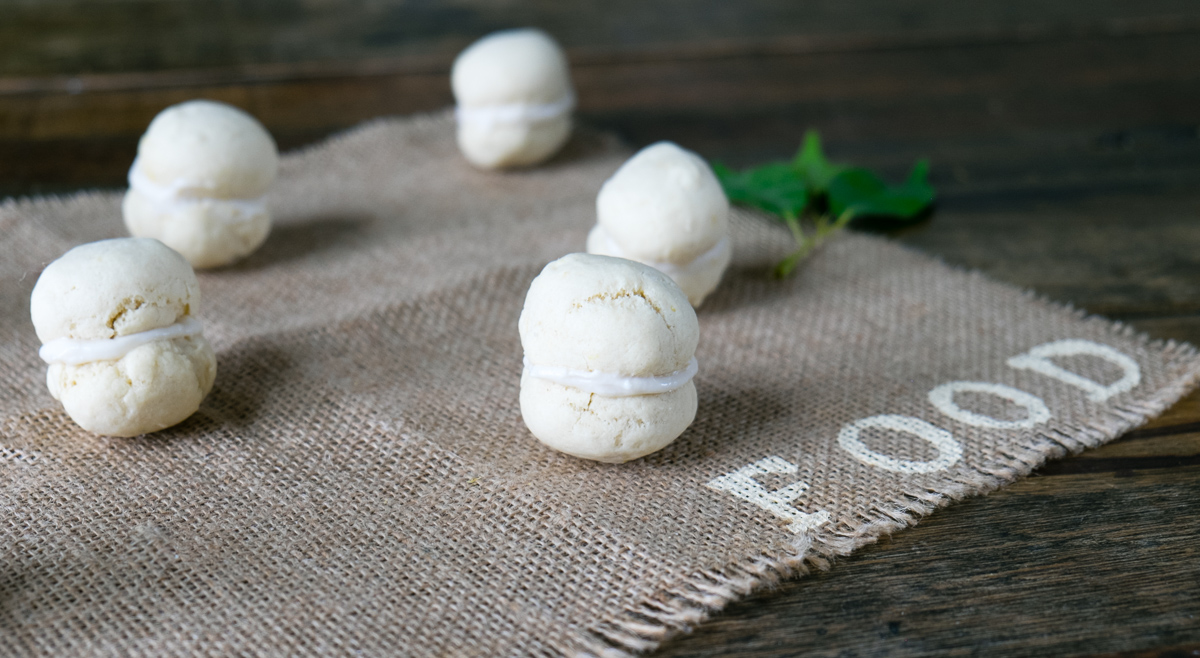
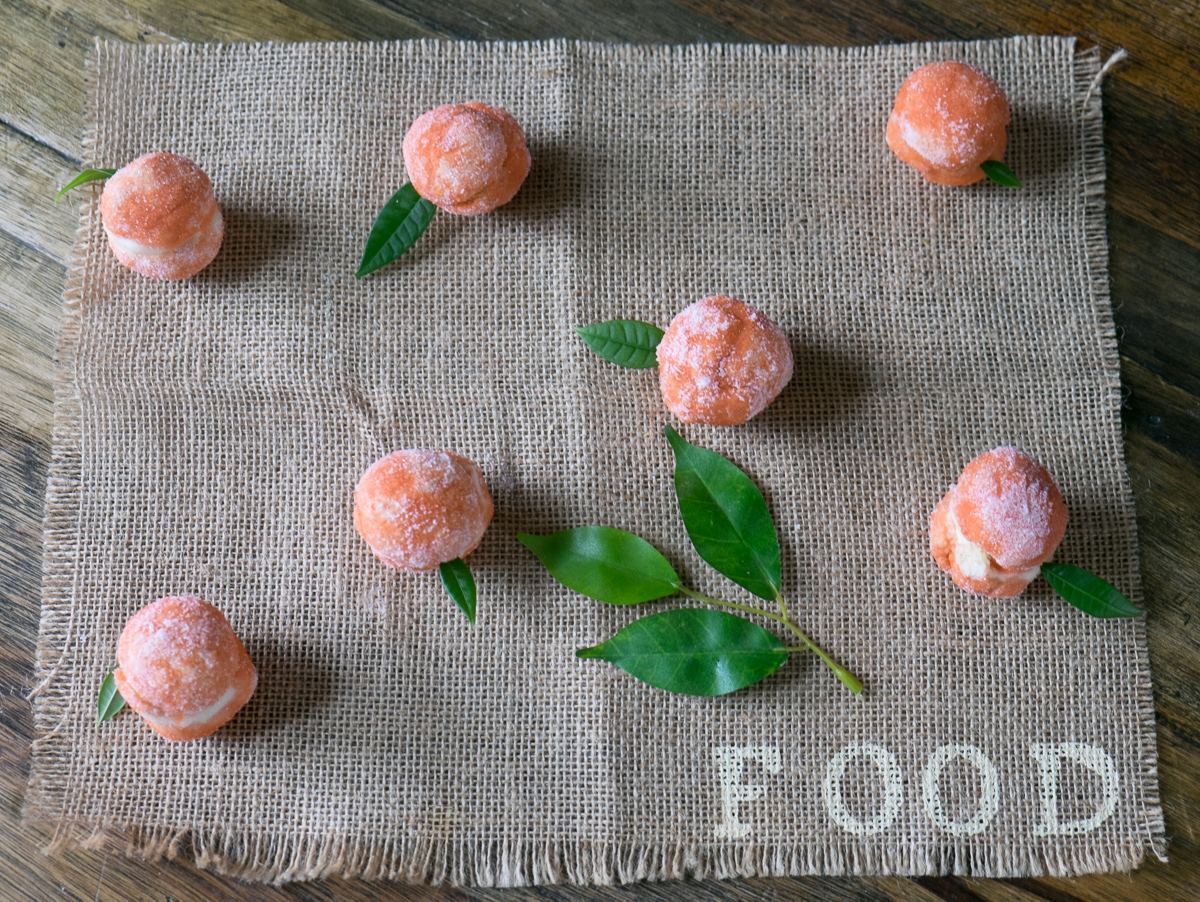
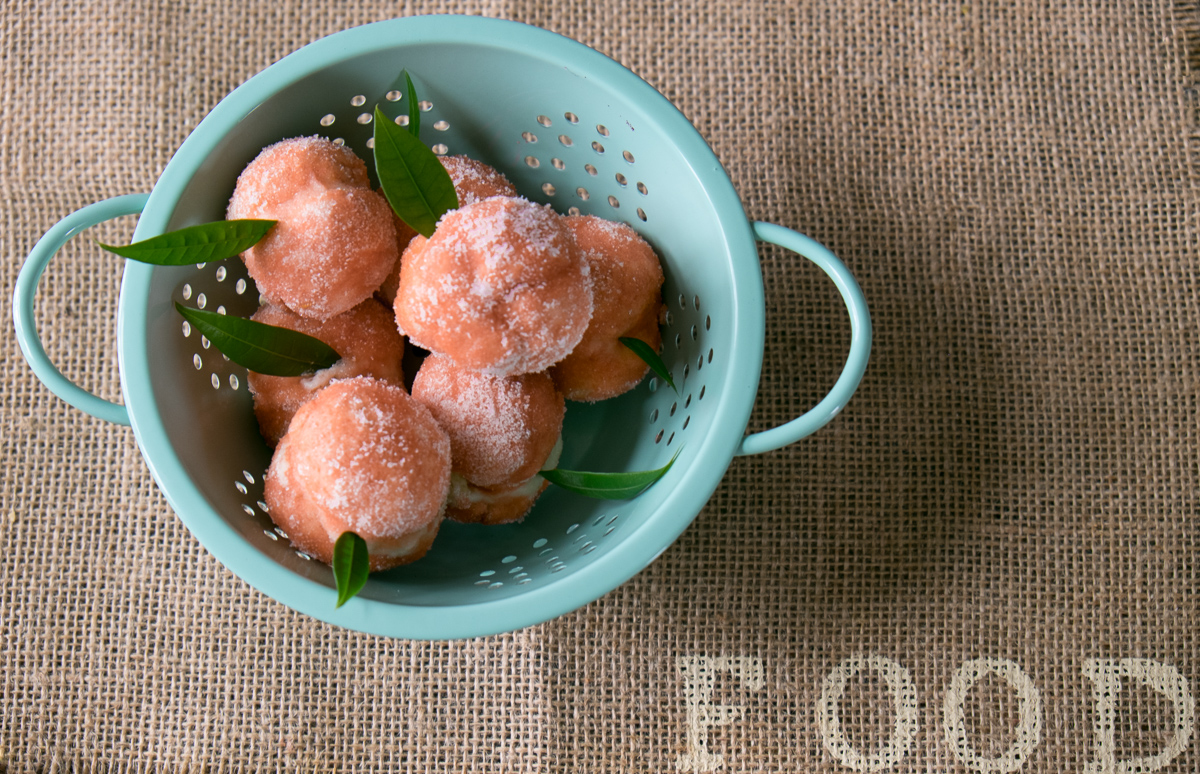
A tisket, a tasket... peaches in my basket.
Maybe I am just kidding myself, but I think these totally look like peaches. If you squint from just the right angle. They are not as pretty as the ones from the original recipe, but guess what? Pretty sure all that shit is just a trick. Beautiful lighting and food styling does not a tasty cookie make. I'd rather have the real thing than the perfect photo anyway. Impostor syndrome be gone! Make your own and experience a pretty perfect peach if I do say so myself. Ta-da.

Peach Pasties
For the cookies:
3 1/2 cups all-purpose flour
1 tbsp baking powder
3 large eggs
1/2 cup + 3 TBSPs granulated sugar
1/2 cup milk
1/2 cup or 1 stick unsalted butter, melted and cooled
zest of 1 lemon
For the filling:
2 cups + 2 TBSPs ricotta cheese
1/2 cup granulated sugar
1/2 - 1 tsp vanilla paste
zest of 1 medium lemon
The rest:
granulated sugar for coating the cookies
liquid food coloring in red, pink and/or orange
mint leaves or other leaf decorations
Directions:
In a medium bowl, whisk the ricotta with sugar until smooth and creamy. Add orange zest and vanilla and stir until incorporated. Chill the mixture, covered with plastic wrap, while you make the cookies.
Preheat the oven to 350°F. Line two baking sheets with parchment paper and set aside.
Sift flour and baking powder into a large bowl. In another bowl, whisk the eggs and sugar until combined. Whisk in milk, melted butter and lemon zest until smooth. Mix the dry ingredients into wet in 2-3 additions, until well incorporated. Finish mixing the dough with your hands and press it into a ball. If it's very sticky add another tablespoon or two of flour until it sticks together. Let rest for 5 minutes.
With the help of a spoon, roll the dough into 44-48 small balls (shape them with your hands until smooth) and transfer them to the prepared baking sheets. They need to be placed about 2.5cm (1 inch) apart, as they will rise during baking. Press down each ball slightly, so it flattens a bit. Bake the first round for about 15 minutes, until bottoms are golden brown (the tops will remain pale). Rotate the pan halfway through baking. As you take the first tray of cookies out, put the second one in the oven.
While the cookies are still warm, cut a circle in the bottom of each cookie and scoop out enough of a cookie for it to hold some filling. (Be careful, don't pierce the cookie too deep or you risk breaking it.) Set aside. Do the same with the second tray. Find a pair for each cookie, you want the halves of the peach to be of similar size. Fill each cookie hole with enough ricotta filling that it covers it (about a teaspoon). Press the two flat sides of each half together and gently wipe away any filling that comes out at the edge.
Brush each peach with food coloring, gently roll it in sugar and place on a large plate. Continue with the rest of the cookies. Chill cookies, covered with plastic wrap, for a few hours before serving. This will harden the ricotta and moisten the cookies. Decorate the cookies with small mint leaves before serving, to mimic peach leaves.